Wednesday, July 4, 2018

Freezing Corn


I love freezing corn.
I can't believe I am saying that.
I hated corn season when I was younger.
So, what has changed?
When I was growing up there was just sooooo much corn that had to all be done in one day.  And, it always seemed like it was on the hottest day of the year.  And, it had to be done outdoors.  And, after all that work, you might let the corn scorch on the stove top.
Well, times have changed.  My method for freezing corn is definitely different from my childhood, and it may be different from yours, but I can now say that I love freezing corn.


We purchase our corn locally from a dear friend.  He gathers the corn and sells it to us by the dozen.  I usually purchase 7 or 8 dozen each year.


You can see from the picture the quality of the corn.
It is a very sweet variety of cream and sugar.


My husband does a very good job of shucking the corn and removing as many silks as possible.  He does this in the back of his truck, so he can easily dispose of the shucks when he is finished.

Then, it is my turn to work...
I silk the corn while sitting at my dining table.


Then wash each ear and place on a towel to drain.


I usually trim any bad spots or cut off bad ends before washing.  This corn was so nice, there was very little of that to be done.


I like my corn niblet style, so I cut it close to the cob and then scrape the ear.


Then, I put water to almost cover the corn and begin to microwave for about 8 min. stopping and stirring about every 2 minutes.  I don't have a set amount of time to microwave, I just watch for the corn to turn a bright yellow. 
Next, the corn needs to cool.


I help the corn to cool by placing in ice water and stirring often.  You will notice the different bowls in the above pictures.  That is because while one bowl is cooking in the microwave, I have the other bowl cooling in the sink.


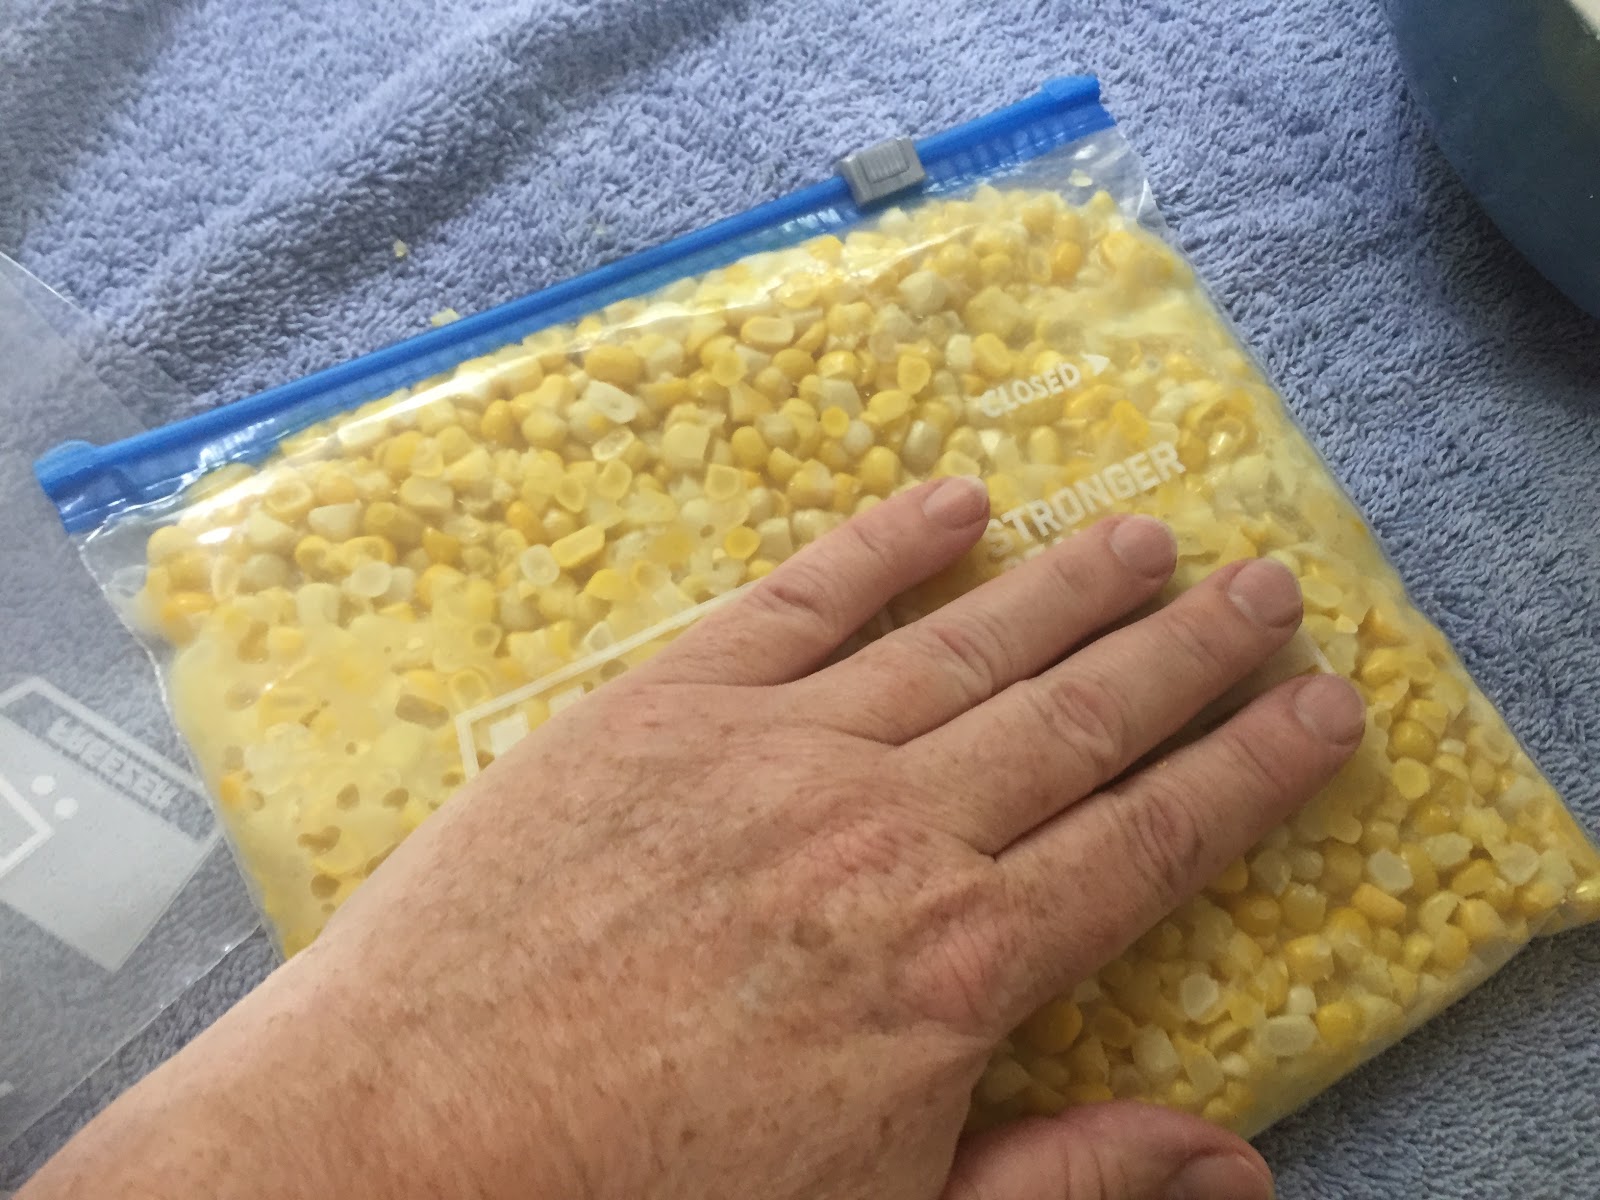
Once the corn is cool, it is time to put it in freezer bags.  I only put about 2 cups in each bag; this amount is perfect for my family.

Be sure to get the air out of the packet and flatten for perfect storage in the freezer.


Sunday, March 11, 2018

Maria's Fluff


This is one of my all time favorite recipes given to me by my dear friend, Maria.  I have made this dessert for myself and to serve at showers and events.  It makes a beautiful springtime dish!


 You will need: 
1 angel food cake
large box instant vanilla pudding
cool whip
3 cups cold milk
strawberries
large can sweetened sliced peaches


 Begin by preparing the pudding according to the directions on the box.  This is where you will use the 3 cups milk.


 I always prepare my pudding with a wire whisk.


 On a side note, I am loving my stainless steel measuring cups from William Sonoma and my rubber bottom bowls from Flirty.  The bowls came from a "misfits" sale at Flirty that I am watching for again this year; great bargains for some quality merchandise.


Wash, cap, and slice the berries so they will be ready to go.


Use a pretty bowl to hold the dessert. 
Begin by tearing the angel food cake into pieces and create a layer of cake in the bottom of the bowl.


Cover the cake with a layer of pudding.


Cover pudding with a layer of cool whip.


Drain the peaches.  Then, add a layer of peaches.  
Put all of the peaches in this layer.
Try to put some fruit around the edges so the layers will show through the sides of the bowl.  


 Add another layer of cake, pudding, and cool whip.
Then, add the strawberries in a layer.


End with a layer of cool whip and a strawberry on top for decoration.


 This dessert can be made with sugar free peaches, fat free pudding and cool whip, and low fat milk for a healthier dessert.


One of my all time favorite desserts
Enjoy!!!

Friday, January 19, 2018

Cream Cheese Breakfast Bake


I love traditions!!!
Our family has several.
Everybody knows who is bringing what at each holiday meal, and if that person's dish is not there, questions are asked as to why it was not prepared.  Our family Christmas breakfast always includes this cream cheese breakfast dish.  It is easy to make and delicious!


You will need:
(For a small casserole dish)
(Double the ingredients for a 9"x 12")
1 can Crescent Rolls
1 box softened Cream Cheese
1/2 cup sugar
1/2 teaspoon Vanilla Extract
1/4 cup melted butter
Cinnamon


Begin by greasing the bottom of the pan.
Spray Pam or butter will work great.
Divide the crescent dough in half and spread half to completely cover the bottom of the pan.
This may seem impossible at first, but crescent dough is very pliable and moves easily with your fingers.


Beat the softened cream cheese with a mixer and then add the sugar and vanilla.
Beat until smooth.


Spread this mixture on top of the dough.


Now, carefully place the other half of the Crescent dough on top of the mixture.  This is a little tedious and requires patience.  As you can see, mine did not look so great to start out with, but I just kept pulling and stretching until it covered the entire pan.


Pour the melted butter on top of the dough and spread around to cover the dough.


 Now mix about 3 Tablespoons of sugar with 1 teaspoon of cinnamon.  You can adjust these amounts to your taste.


Sprinkle this mixture over the top of the sugar.  I sometimes add a little more cinnamon.


Now bake at 350 degrees for 20 minutes or until brown.  I always test the center of the dough to make sure it is not doughy before I remove the pan from the oven.


Slice into squares to serve.
This makes a very special breakfast side dish.
Our breakfast on this day included cheese eggs, ham, sliced banana, and Cream Cheese Breakfast Bake!
Leftovers can be reheated and served another day.
Enjoy!


Monday, January 8, 2018

Hallelujah Tree


A few years ago, my daughter and I decided to decorate one of our cedar trees for the birds.
We called it our Hallelujah tree.
The Hallelujah tree has now grown tall and spindly and will no longer work for a bird tree.


This year, we decided to decorate a new tree that I had planted a few years ago outside of my kitchen window.  
It was the perfect size for a Bird Tree.
If nothing else, it made for some great pictures.


Our decorations came from leftover Christmas foods.
We cut out circles from stale bread, spread on egg whites, then sprinkled on bird seed.  
A hole was made in the top of the bread with a straw, and then the bread treats were baked in a 200 degree oven for about 30 minutes.  
The next day, we added string for hanging.


 We sliced a few oranges that were beginning to go bad and baked these on a cookie rack in the oven for about 3 hours at 200 degrees.  
I was just as happy with the oranges that we did not bake, but simply sliced and threaded on a string.


We made several stringers with leftover store bought popcorn, oranges, cranberries, and dried fruit from a trail mix.
These were easily strung with a large needle and some heavy red thread.


The decorations that were probably the most fun to make were the bird seed creations.  We mixed 2 packages unflavored gelatin with 1 cup hot water.  Then, we added 6 tablespoons light corn syrup and 1 1/2 cups plain flour. 
 Last we added 8 cups of bird seed.  
This gooey concoction was put in cookie cutters and muffin tins to create shapes to hang on the tree.  
We used a straw to add a hole to the top of the cookie cutter ornaments.  
The muffin time ornaments, we placed a sting in the middle of the goo and let them dry with the string inside.  These just needed to 
dry overnight.


 I love that I can see this tree from my kitchen window. Now, we are just waiting for the birds to come and enjoy!